

Dan
Dec. 8, 2013 Last day for major work on right wing
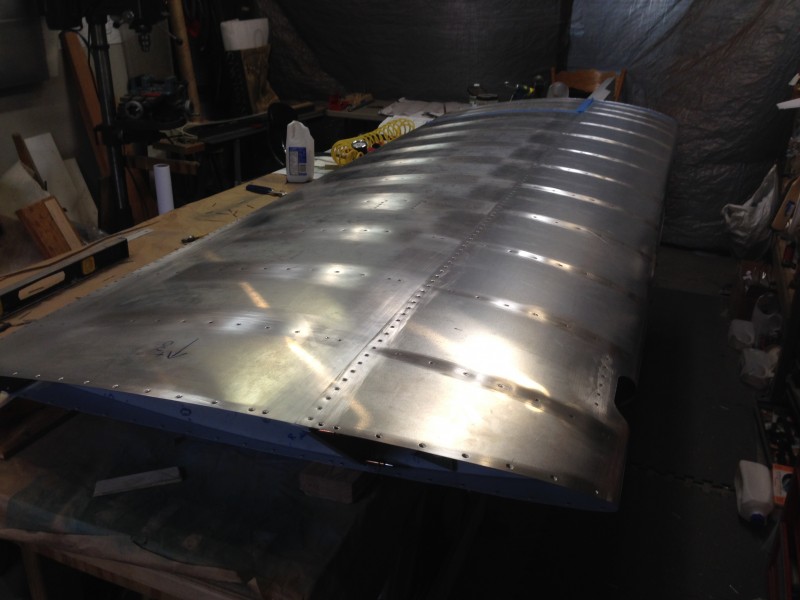
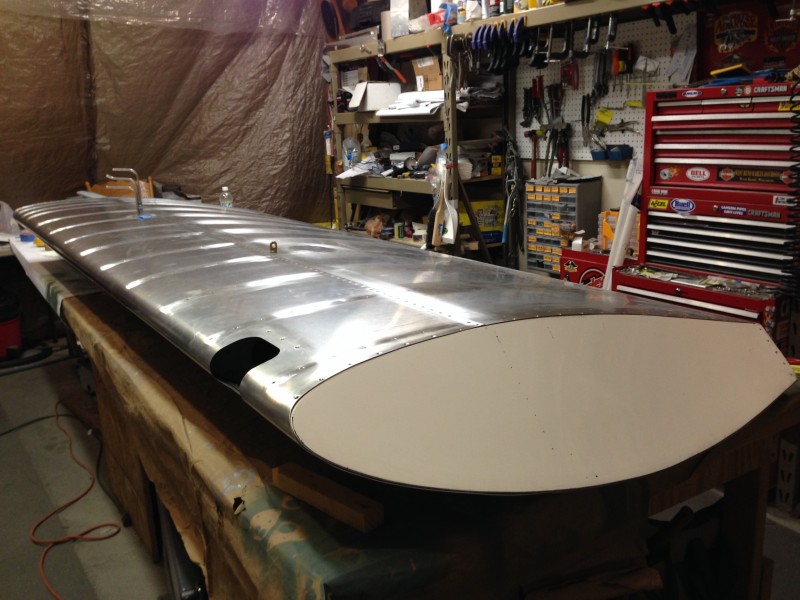
There were plenty of interruptions yesterday and today but the right wing is finally closed in and riveted with not much but a few small items to do before wing installation on the fuselage.


Left To Do:
Paint control rods
Add nut plates for surface screws on wing tip
Trim pitot, static and AOA tubes and connect to lines.
Attach and trim wing doubler skin after wing is fitted to fuselage
A few things to note.
The rivets in the bags need to be watched carefully because they are not perfectly sorted. Either we inadvertently dropped a few CCP rivets in the CCC bag or they came that way. in either case, I caught them before pulling the rivets but it is a lesson to not be too casual or in too much of a hurry when putting in large numbers of rivets like those in the wing assembly.
Using the flat piece of 3/16″ aluminum between the rivet gun and the rivets was a big improvement over just using the rivet gun tip. This was particularly true when riveting the leading edge skin to push with heavy and even pressure to keep the skin tight to the ribs. It probably helped a lot to have the skin well formed with the vacuum method but even so, I think it helps to be able to press hard on when riveting the leading edge.
I was planning on hanging the wings up on the wall in the garage but I think I can rearrange the material in the rolling rack and put the wings on the rack.
Modifying the rack with have to be the next thing to do so I can clear off the bench to assemble the left wing.