(Been a while since I have been at the workshop since learning and replacing a retaining wall in the spring/summer 2012 – Tim)
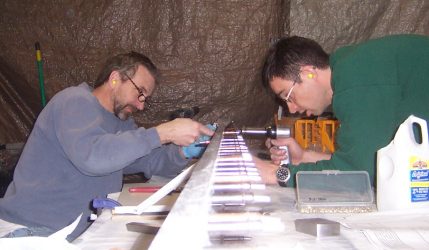
Having matched drilled and clecoed most of the RH (Right Hand) spar we began work on the LH spar.
First order of business is laying out the correct order of all the spar layers. The plans are a little tricky with the right & left sides so Sonex provides some 3D CAD exploded views (RH & LH) . These still take a little head scratching since one does not want to mess up the expensive spar caps.
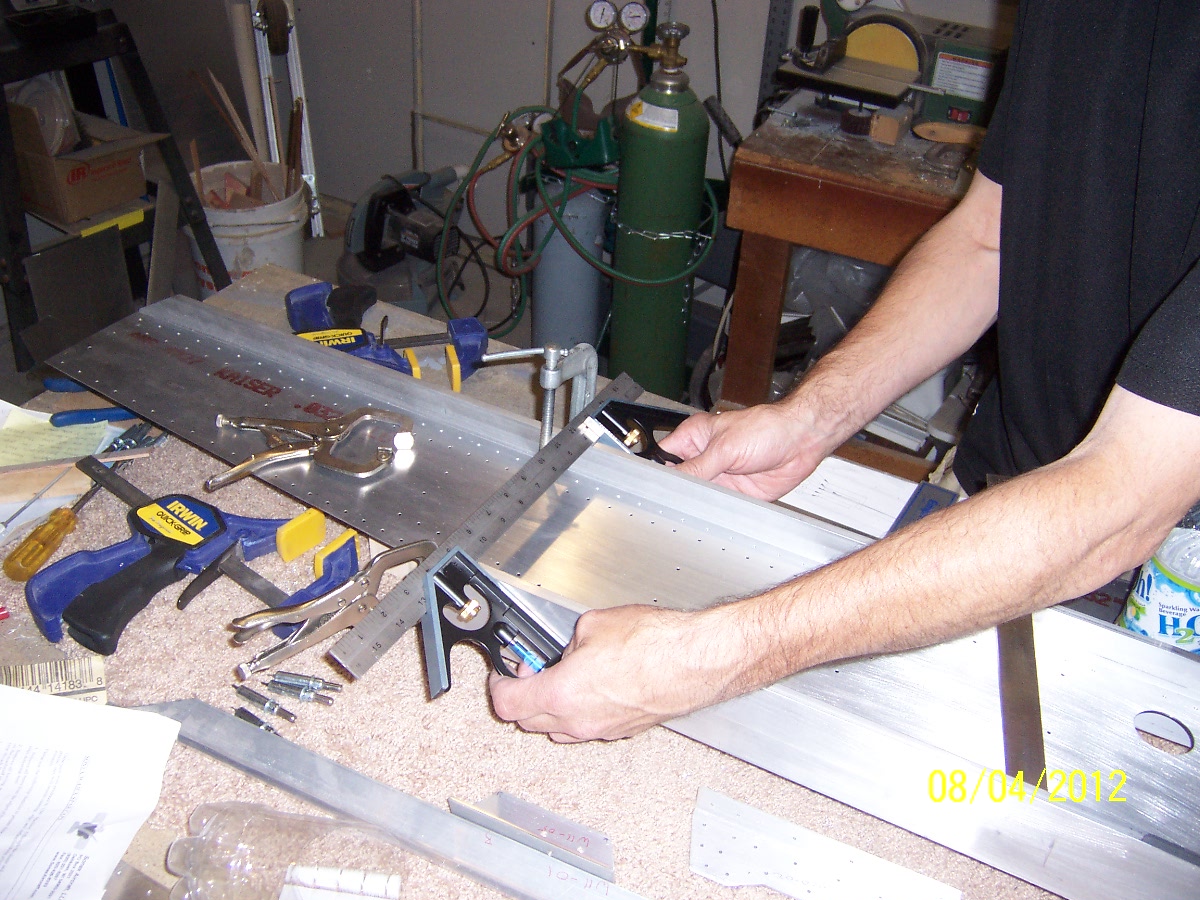
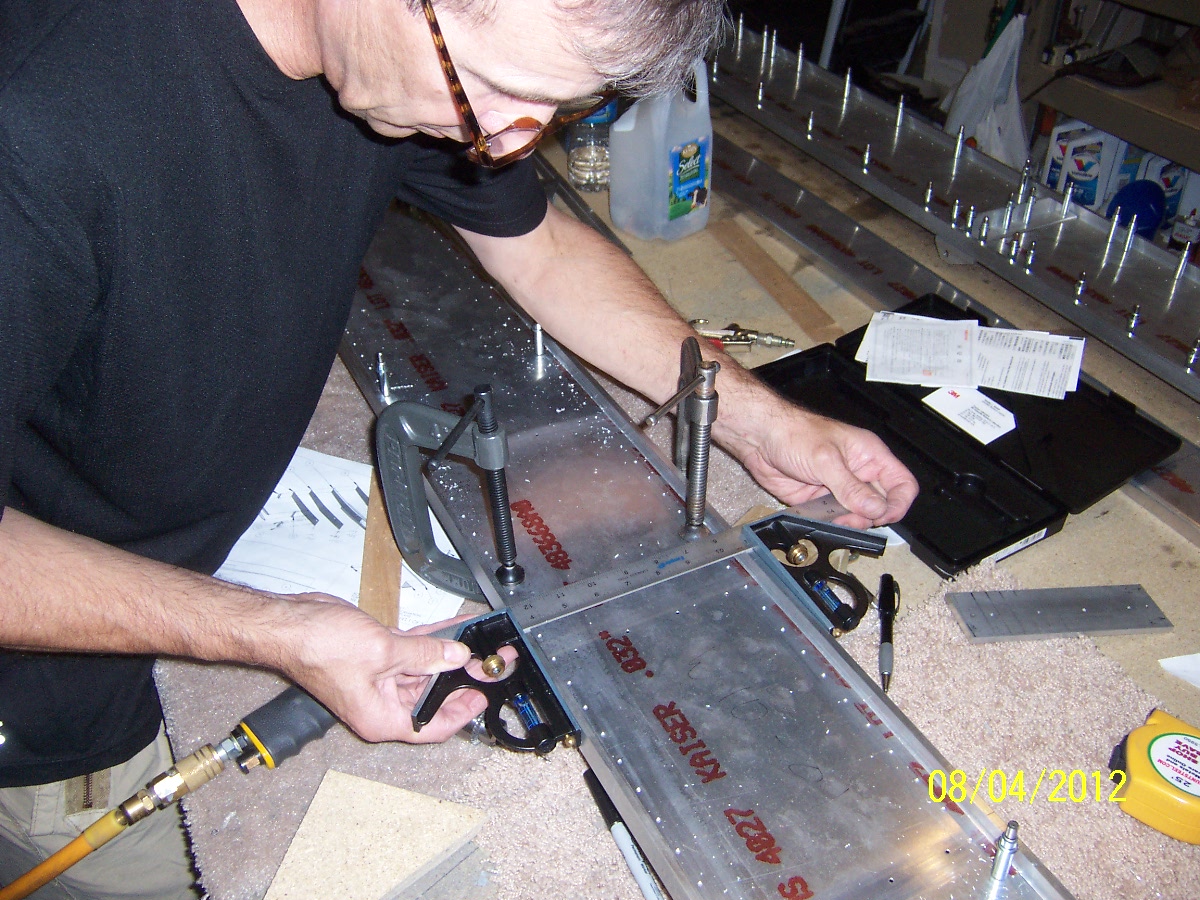
Dan came up with a good way to set the spar cap distance. He placed two carpenter squares, face to face, on one ruler so we could set the outside spar cap distance.
Sonex sells (or we could make) precision spacers that fit between the spar caps, but we would be depending on the precision of the spar cap “T” leg dimension. Another side note is that the match drill holes are in the spar web, so they need to be on top. This makes the spar caps’ “T” leg on the bottom underneath the spar web .
Our method measures the outside distance which is the dimension shown in the plans. We double-check setting the gap between the squares with a precision ruler and with a 8″ digital mircrometer that I borrowed from work. Since we are measuring an outside distance there is some feel to it. There is some friction, or tightness, of our outside gauge against the spar caps. We tried to be consistent with the same amount of drag feel of the gauge. You can easily have the gauge not perpendicular to the caps. To help this we would put pen marks on the caps with a square so we could line the gage up with them.
We would clamp the spar caps on the spar web and check the distance with the gage. The next step is to make sure the spar web is centered with respect to both caps. This took some iterations, but it got easier with two people.
Once the we felt the caps were clamped in the right place we drilled and clecoed one end , then the the end, then the middle. We kept splitting the distance to be in the middle of the gap. After about six times of this we just match drilled the rest.
To get a good perpendicular drilled hole we place a block of aluminum on the spar web next to the drill bit. By using the two edges of the corner it helps us see if the bit is off in either angle.


