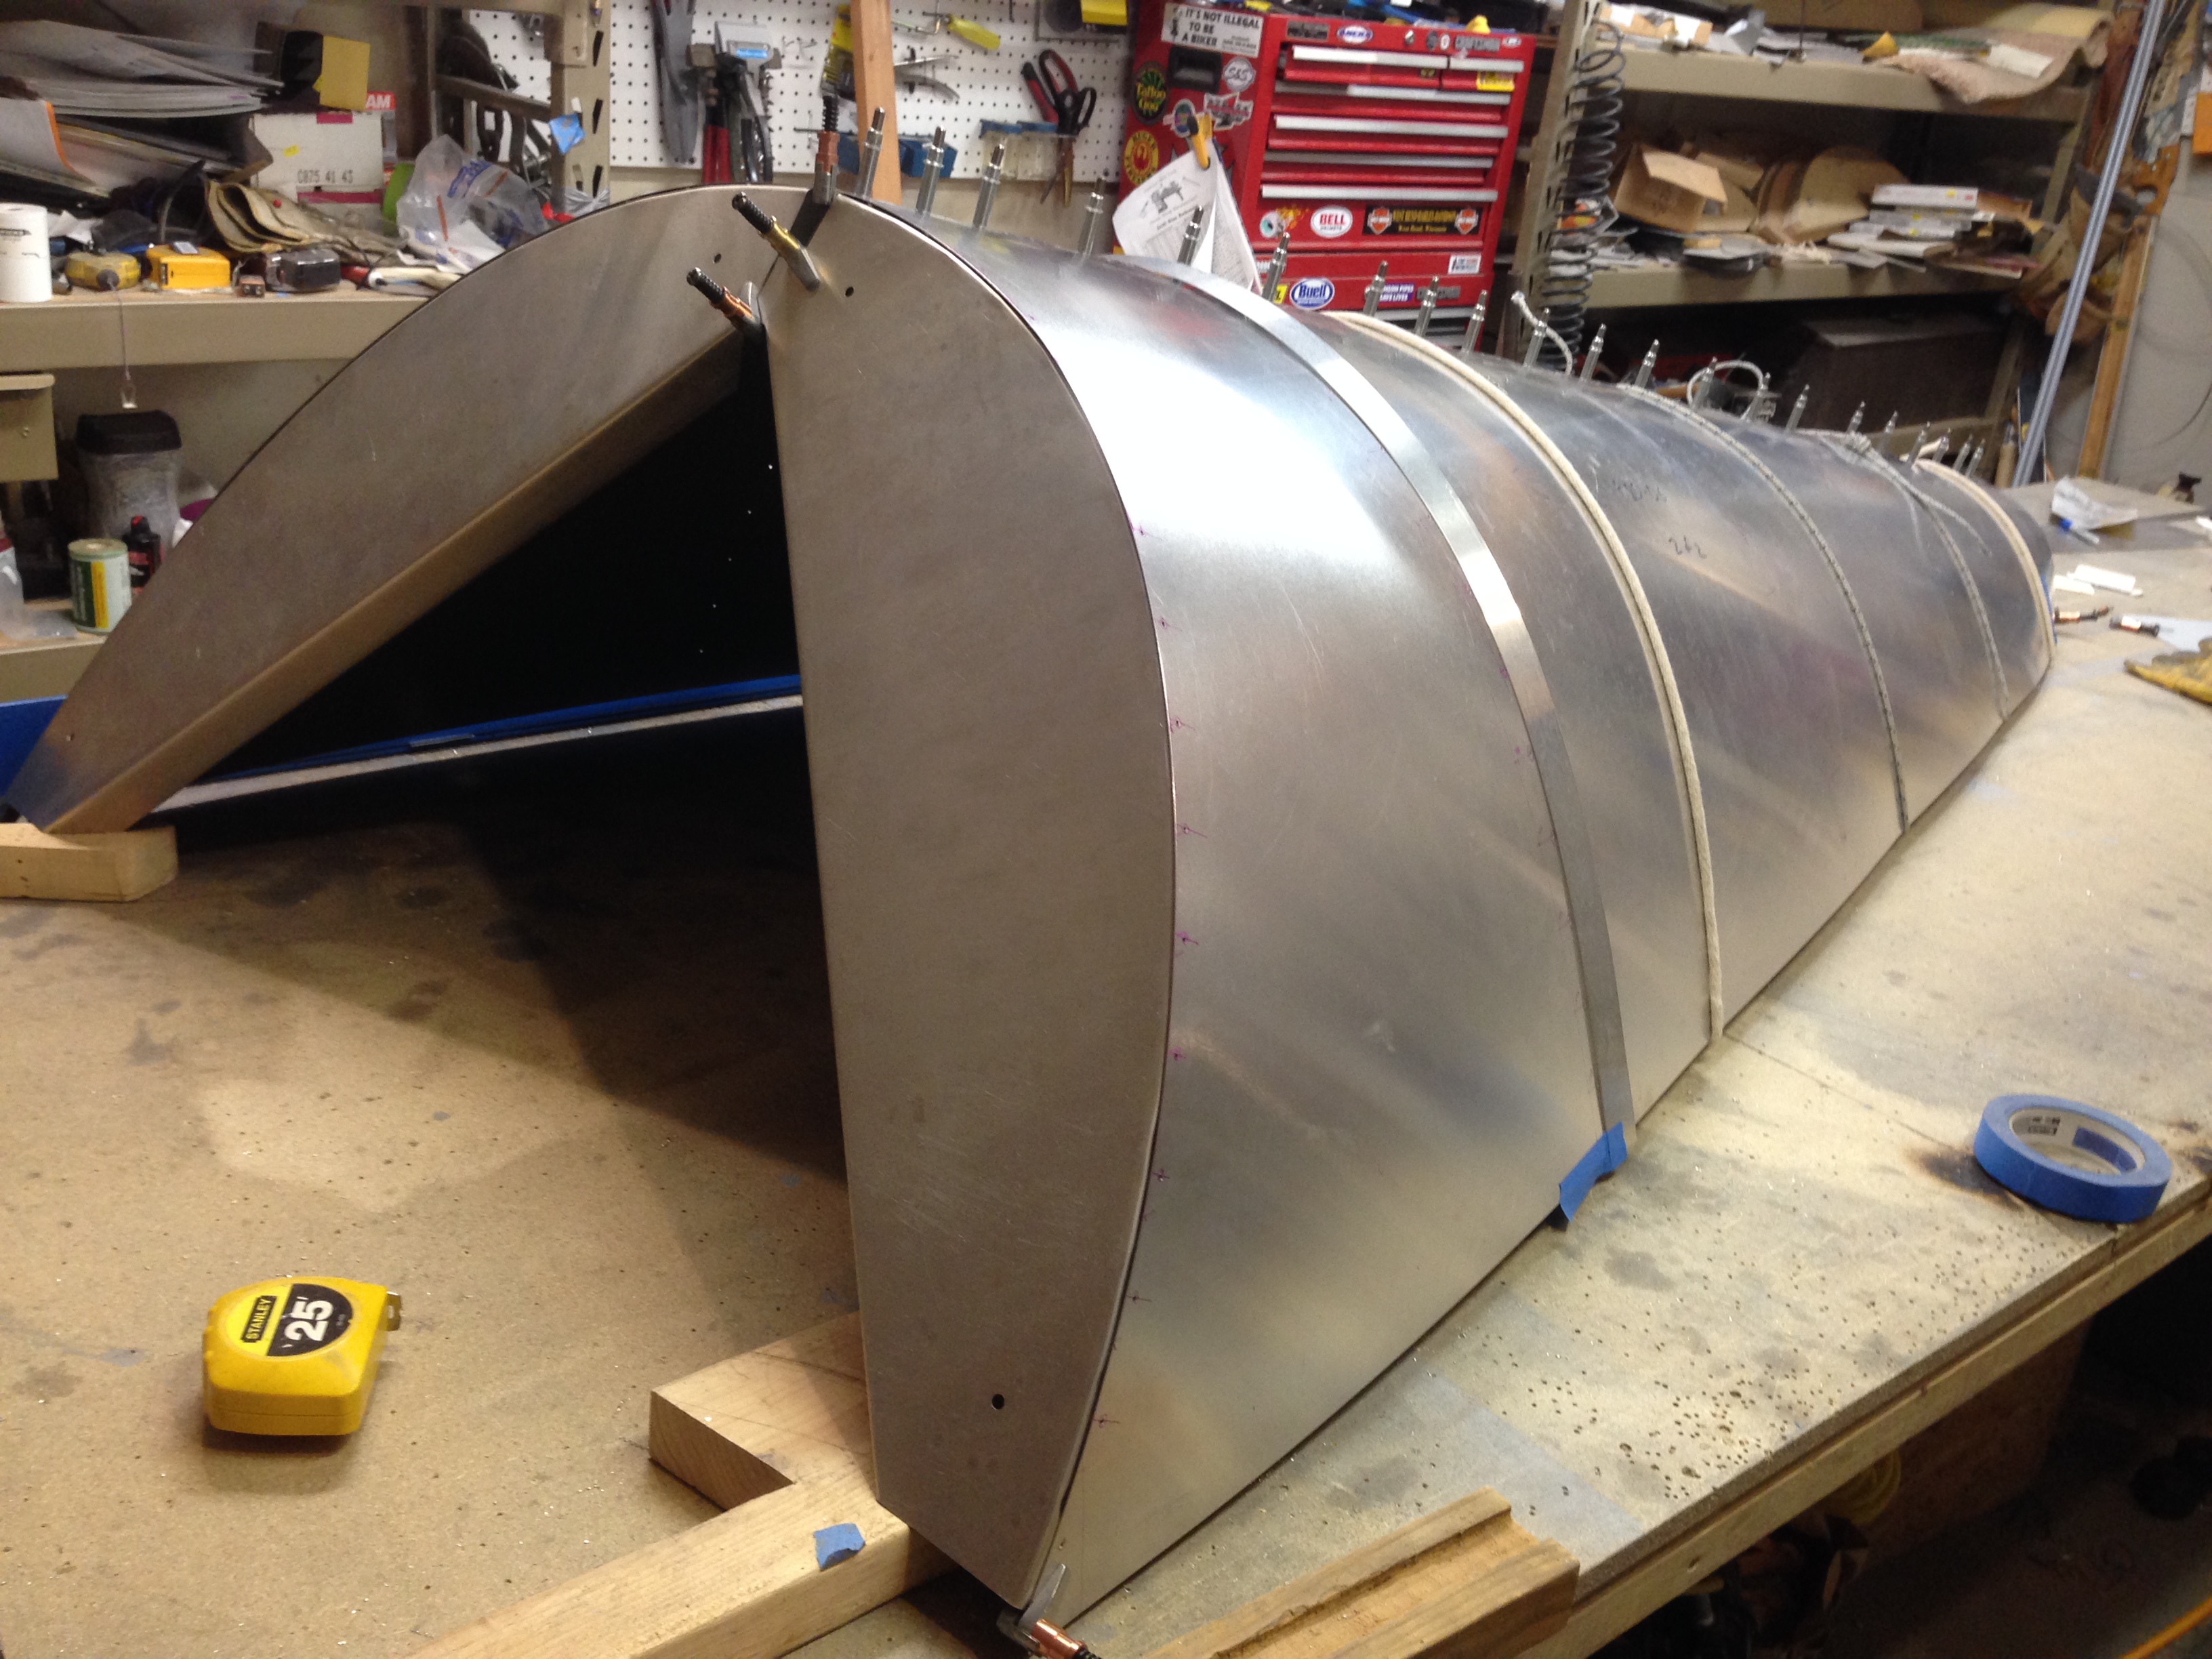
Dan assembled the turtle deck to check the fit. Looks Great! Check out those rib rivet hole lines.


Building An Airplane From Plans
Dan assembled the turtle deck to check the fit. Looks Great! Check out those rib rivet hole lines.
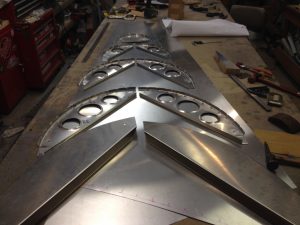
Dan finished up the turtle deck ribs. Some of the flutes are hard to get right. They need to be in the right location to avoid the rivets yet deep enough to make the part flat and the flange at the right angle. The smallest rib, F20-04, was tricky. We have the large red fluting pliers and the smaller style. I want to ask our Tech Councilor about this the next time he stops by.


Dan broke out the “Big Bend” brake for all the fuselage parts.

3_16_2014
Fuselage status
After completing cutting and drilling the larger sheet parts for the fuselage over the last few weeks I started working on the turtle deck rib formers. We had purchased the rib forming block kit long ago and the fuselage ribs were the only ones that had not been converted to parts (although to be fair, the only other ribs other than one fire wall rib former were for the wings).
So I finished making copies of the rib formers for the fuselage (yes, and the one for the fire wall). The #1 fuse rib is part number F20-01 (R and L). I had set aside a piece of 032 for these two pieces and through the course of the day was able to finish one of the two. When I laid it up along the turtle deck skin and bent the skin around the rib it seemed to follow the edge of the cut skin quite well. These complex edge cuts of the skins make me a little nervous as they are laid out as a table in the drawings and you need to “connect the dots” and generate a smooth curve to cut them. I must be getting better at it because the wing tips did not appear to really follow the layout (despite the fact that we generated a CAD plot of the complex shape). For the wings I cut the skin long and trimmed to fit the tip (a method I would recommend) but for the turtle deck (which is quite a bit more straight forward) I simply marked it on the aluminum and cut to the smooth curve I generated from the points.
Another 4 hours and I should have all the turtle deck parts (ribs) formed. Then it will be on to bending some of the other parts with the brake for all the cross members within the fuselage and then I am expecting to start building the numerous angle pieces as they are needed.
One of the distractions today was a trip over to a friend of Tim and mine from work. Eric Hokenson. Eric is a rod builder (and quite a good one at that). Eric has a shop that is the envy of many a handy man. There are few tools he does not have, English wheels, band saws, brakes, shears, end mills….where do I stop? Not only does Eric have a lot of tools but he knows how to use most far better than 95% of the craftsman owning the same tools. Anyway, Eric has a collection of tubing benders and one of the issues Tim and I have been struggling with is the canopy. We have imagined building a gull wing canopy but recently I started getting cold feet as the details started to worry me.
One of the suggestions Tim made that I (at first) discarded was beefing up the front wind screen bow by substituting 4130 for the existing aluminum ½” tubing. The advantage is that 4130 is significantly stronger and it can be welded, so a center overhead section could be easily attached to it. Well, Eric has a couple nice tubing benders and I am thinking that maybe using 4130 and Eric’s tubing bender could maybe get me back on track with the center overhead section necessary for a gull wing canopy. We’ll see if I can talk myself back into this again ‘cause I sure don’t like the current design of the side opening canopy the Sonex has.


Dan had the good idea of match drilling the center seam of the turtle deck skins on the bench.

Since we are trying to make the best use of the aluminum sheets we continue to cut out the largest parts first. Here is the glare shield, F07-01. We are not sure if we want the sloped instrument panel or a vertical one so we added material on that end. We can decide later.

The rear fuselage bottom is the next large part. Dan used the side of the aluminum sheet but gave a little offset. (Using the electric shears.)

Here is the finished tail end of the bottom skin: