

Left wing skinning
December 15, 2013
The left wing is expected to go much faster than the right as all the parts have been pretty much completed and the right wing assembly included welding the control rods. In a sense, the left wing assembly should go at least as easy as building from a kit, maybe even easier since the right wing had just been completed so the assembly procedures were well understood.
The left wing box had also been assembled and updrilled to #30 (1/8″) as well but none of the gussets had been riveted and the majority of the ribs were not deburred. Although the ribs needed to be deburred again after being match drilled to the skins, I was thinking of riveting the gussets to the ribs before assembling the wing. Plans changed and I ended up working the last two days of the week, contrary to my original plans. This led to not having all the ribs ready to prime and rivet the gussets so I chose to begin assembling the wing box on Saturday morning.
Tim and I got together on Sunday afternoon and while he finished deburring the missing aft ribs I finished deburring the fwd ribs. After the aft ribs were deburred and clecoed in place the wing box was leveled, squared and clamped to the bench top.
Tim and I discussed how many builders skin the wing vertically while I was proceeding as I did on the right wing by leveling and squaring it while flat on the table. I am confident either would work and any discussion on which might be better might be a waste of time. I feel it is easier to constrain the wing when it is flat on the table, which is my primary reason for why I would rather have it horizontal on the table.
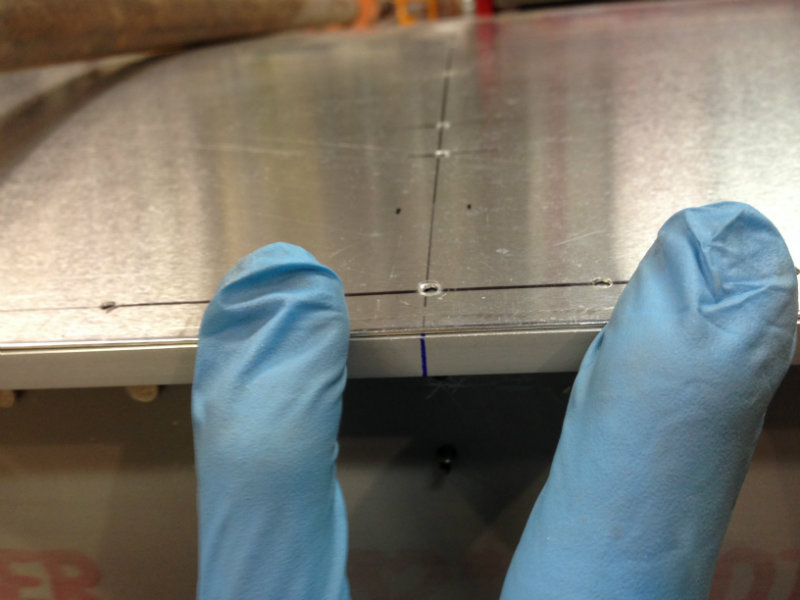
Anyway, once Tim was comfortable with what I was doing (or tired of going over the procedure verbally) we moved forward and found a location that was as level and square. We then laid the pre-marked top skin on the box and checked the alignment of the marked hole center lines that were yet to be drilled, with the centers of the ribs.
We then checked the only reference dimension on the prints that provided an alignment for square. This was the wing station zero point (also the center of the wing span) to the rear spar attached hole. This measurement was supposed to be 19.0″ The original measurement we checked did not come up to 19 inches but after a little review it was apparent that there was a bend in both thee main and rear spar that was distorting the measurement.
Tim had to leave and so I had time to drill the top skin and mount it on the wing box. Mounting the skin provides an easy method to straighten the spar out by match drilling the rear spar, beginning from one end and making sure the trailing edge of the spar was flush with the wing skin. After this is done the wing can be squared by checking that the centers of the drill holes aligns with the rib centers at the ends (the middle of the ribs are unreliable as they tend to wander a bit until match drilled to the skins). It is the rib centers marked on the spars that make the best reference for the skin hole centers.
With the aft spar match drilled to the skin the wing box can be clamped at the main spar and the 19″ reference dimension can be checked. This time the measurement came out to as close to precisely 19.0″ as I can measure.
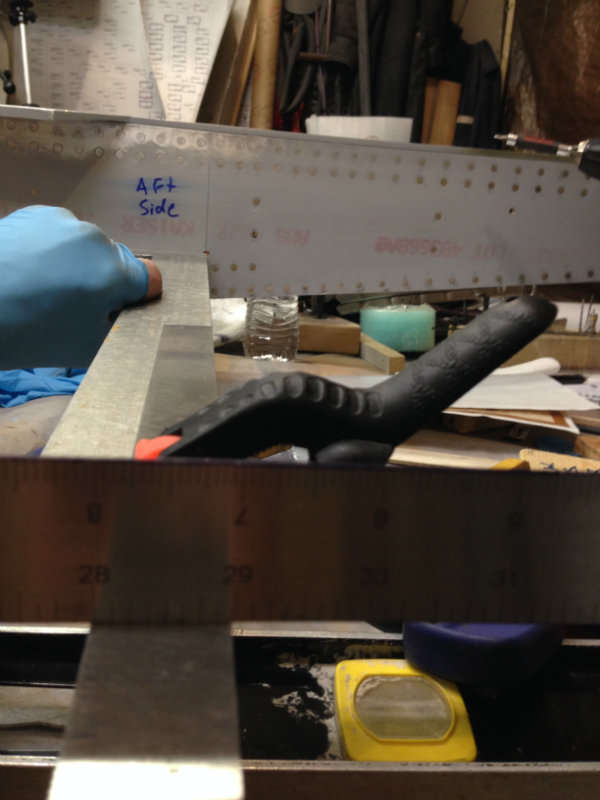
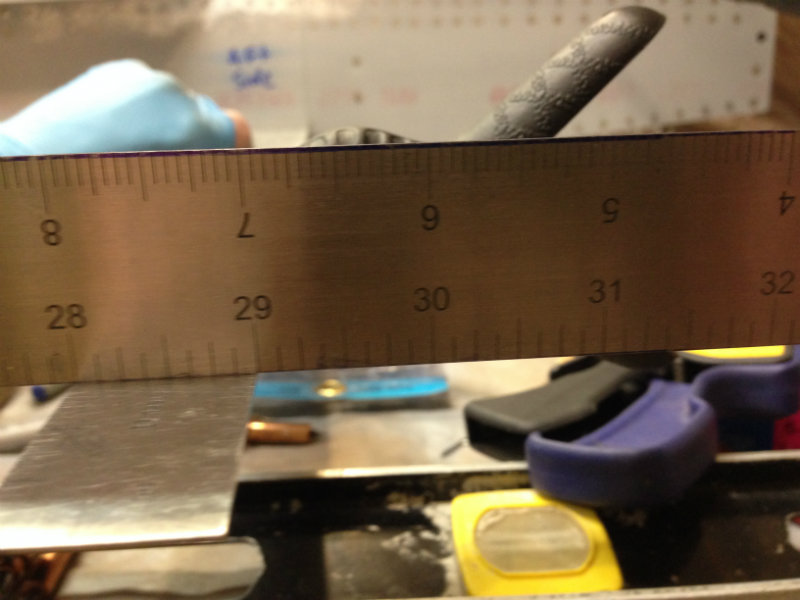

I have pictures of the 19″ reference measurement as well as the alignment of the skin center lines with the rib center lines.

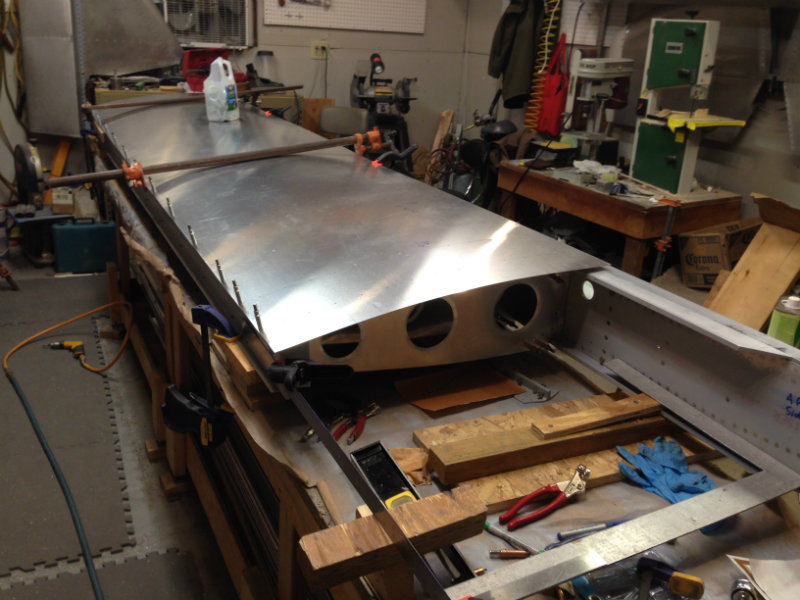
A few pictures of the semi finished match drilled skin and wing box and that is about as far as i am going to get tonight. Tomorrow Tim and I expect to both be able to work on the plane during the day as we both have “vacation to take up” as my friends if Singapore say before it evaporates at the end of the calendar year.