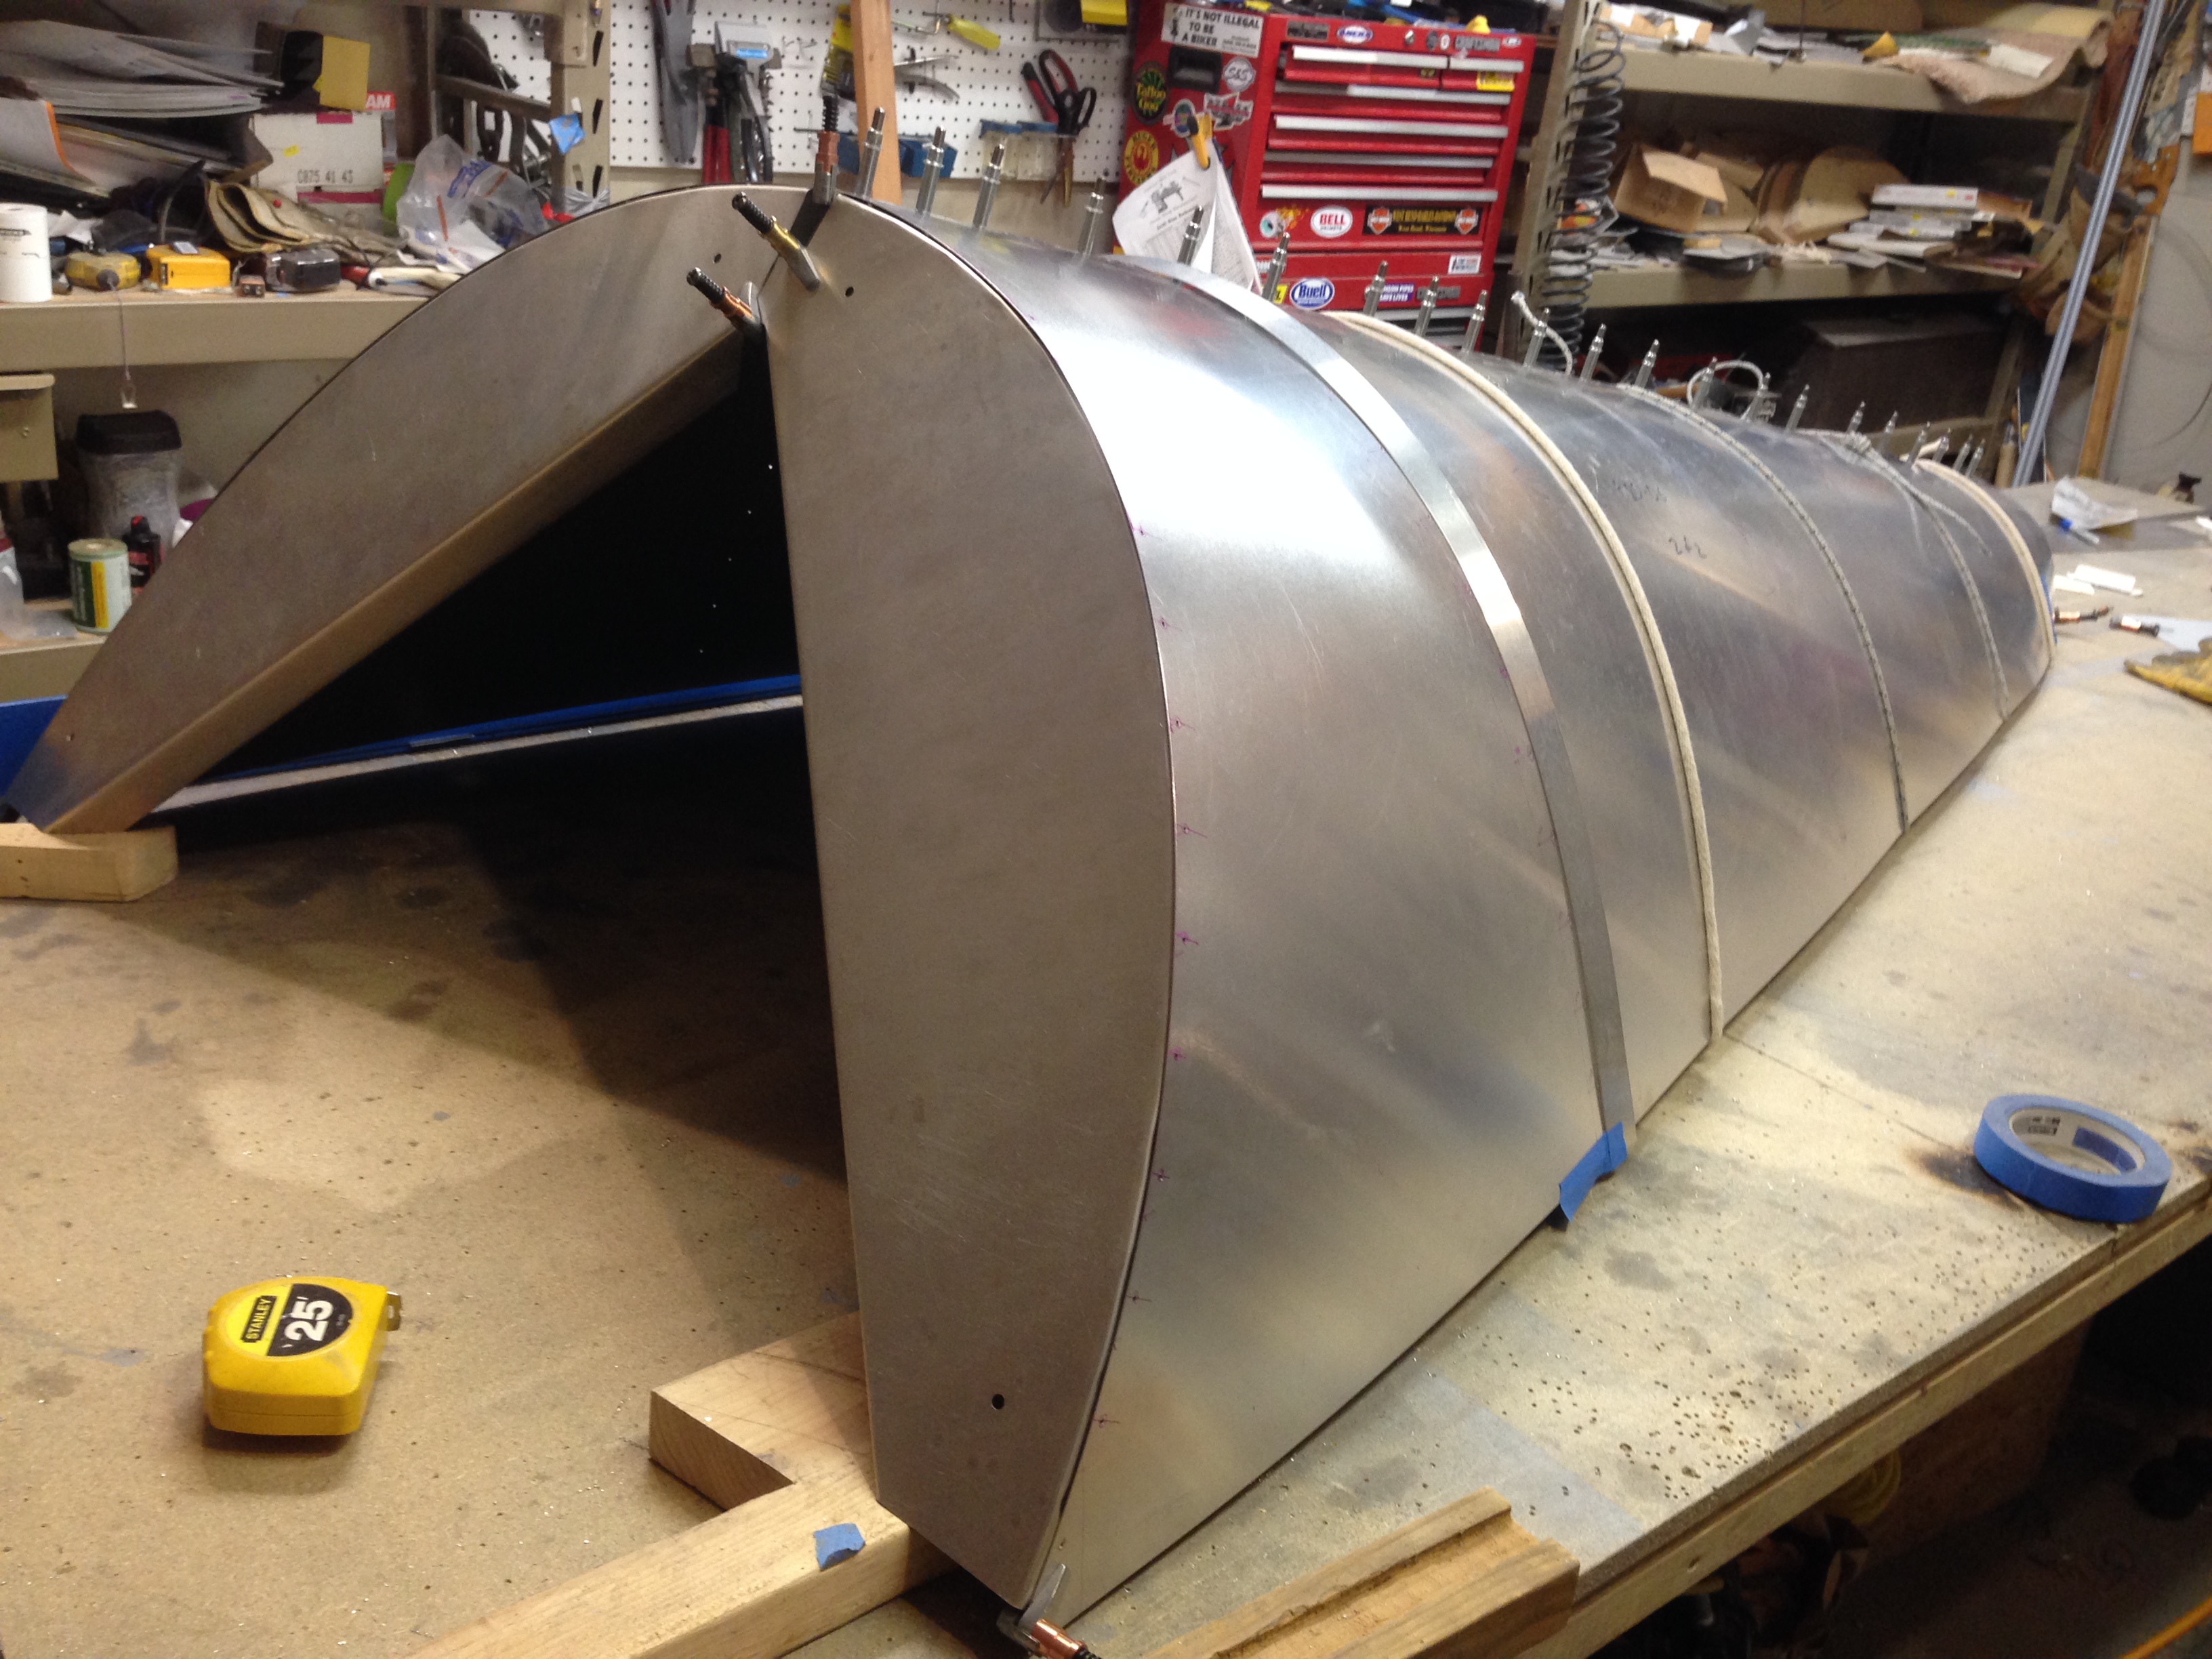
Dan assembled the turtle deck to check the fit. Looks Great! Check out those rib rivet hole lines.
Dan assembled the turtle deck to check the fit. Looks Great! Check out those rib rivet hole lines.
Dan finished up the turtle deck ribs. Some of the flutes are hard to get right. They need to be in the right location to avoid the rivets yet deep enough to make the part flat and the flange at the right angle. The smallest rib, F20-04, was tricky. We have the large red fluting pliers and the smaller style. I want to ask our Tech Councilor about this the next time he stops by.

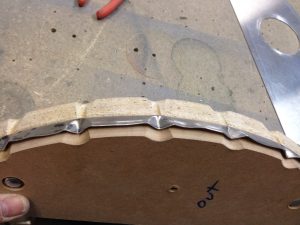
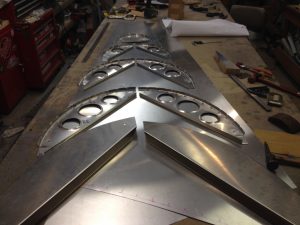
Dan broke out the “Big Bend” brake for all the fuselage parts.
We have been working on a long list of hardware for the Sonex. We had ordered the tail hardware when we built it but decided to order almost all the rest all at once. We started with a list on the Yahoo Sonextalk fourm and double checked with the lists from Sonex. We padded the bolts by adding a few extra and getting a some of the lengths around the specified ones.
I found that Aircraft Spruce had the lowest prices by a little bit. A couple items were cheaper at Wicks. We made a big order and was disappointed to not get the “free shipping for more orders than $500” because it weighed more than 25lbs, bummer.
Here is the box that arrived with the tube behind it for the longer parts
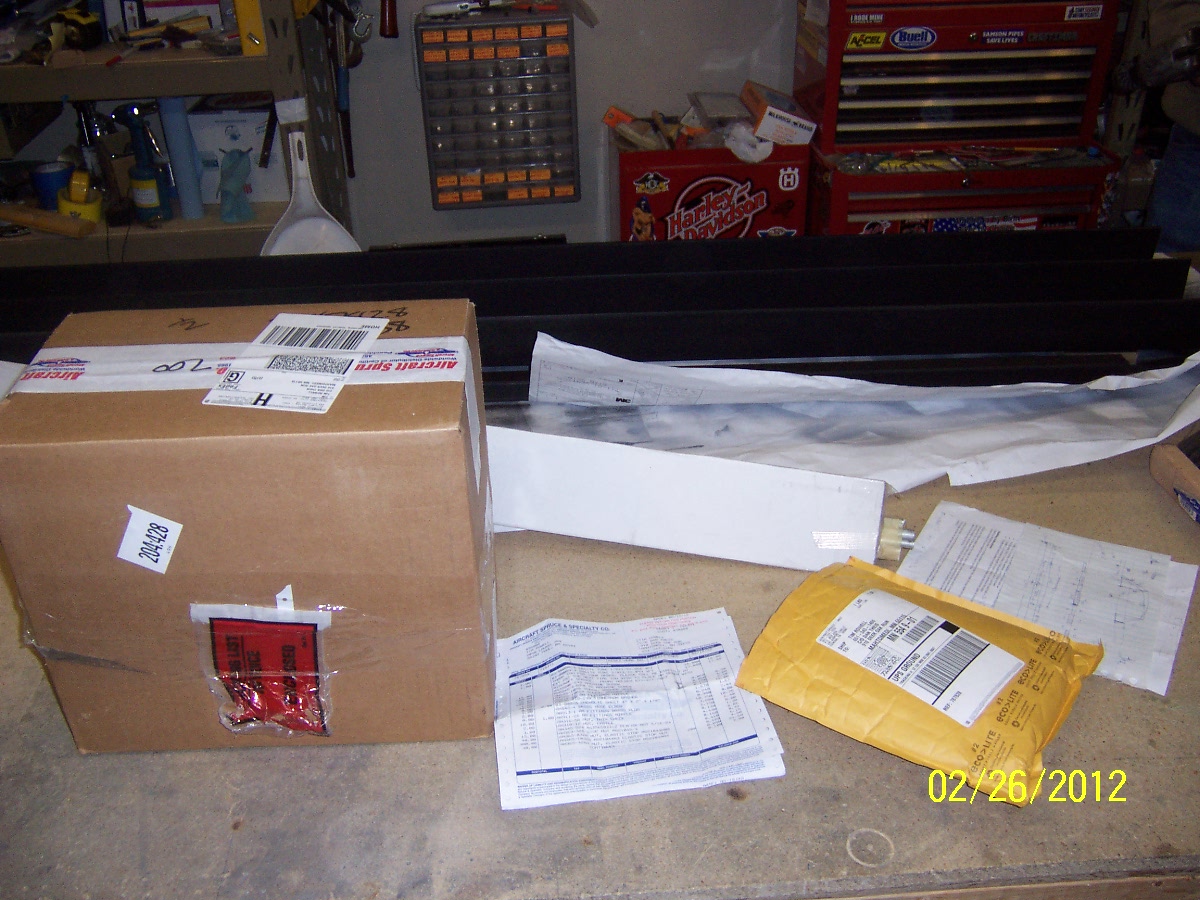
We check the order and it was spot on with the packing list, with a couple items back ordered. Now where to store all this stuff.
Return Build Log
Finally a complete empennage picture. We have had the parts done for a while and Dan took this great picture.

August 6, 2011 The horizontal stabilizer is hung on the wall

Looks beautiful to me.
After finishing the horizontal stabilizer we decided to install the custom “splice strip” for the fiberglass tip. The sheetmetal strip slipped easily between the top rib and the skin. The dimples aligned it right in place. Here are the rivets inserted:

Dan finished riveting the frame together. He put the skins on with clecos:


Here is a close up of the leading edge, looks really nice. I am glad our tech councilor suggested to get a good bend on the leading edge.

Here is the leading edge looking from the outboard side:

Here is the training edge with the hinge:

Just before staring to rivet

One skin side flush riveted:

Here is the completed Horizintal Stabilizer:

Dan noted that you have to really have the rivet gun square/flat with the skin or the rivet might become tipped a little in the dimple. Only a couple had to be drilled out.
After admiring our work and gloating for a minute we hung it on the wall.
We assembled the complete horizontal stabilizer frame and skins one last time to make sure all the parts were in the right place.


We started with the (rear) main spar assembly (SNX-T3-01). The inner rivets are fine, but the outer ones are closer to the flange so you cannot get the rivet gun in there without deflecting the flange

Dan had previously made some spacers to put between the rivet head and the rivet gun. We decided to make a new spacer with a smaller bore to fit the rivet stem better. We had some 3/8 rod and we cut off a piece and drilled a hole. The first two attempts had the hole off center and it looked really bad. The next one was too tall and the gun could not grip the stem. The fourth one finally worked.

It’s amazing how much time these little side exercises take up. We finished riveting the main spar.

We started on the front spar (SNZ-T03-05).
However we decided t rivet SNX-T04-01 (the inner ribs) to SNX-T03-05, forward root clip. The plans show to rivet this later with assembling the whole frame, but it looks more cramped and awkward to get a rivet puller in there.

On the front spar we were careful of the orientation of the inner most rivets, the first rows (on each side) are flipped from the rest.
Dan primed the horizintal stabilizer parts and skins. We had gotten a gallon of 3M Mar Hyde Self Etch Primer. Dan used his compressed air paint spray gun. He has a lot more control over the spray width and delivery than with the spray cans we’ve used so far. He put a really nice light and consistant coat on, great job. Safety notes: Dan used a respirator with cartriges and had the workspace venting with a fan pulling air out a window.