Right Wing Sling

Right Wing Sling

December 14, 2013

The right wing was done almost a week ago and I have done little on  the plane since then.  Mostly  because work  has really  been taxing at the end of the year and I need to take my remaining vacation or lose it by December 31st.

I am off until the end of the year (at which point I will likely be traveling for the first three weeks of the year for work so whatever I don’t get done through the rest of December will sit until February.

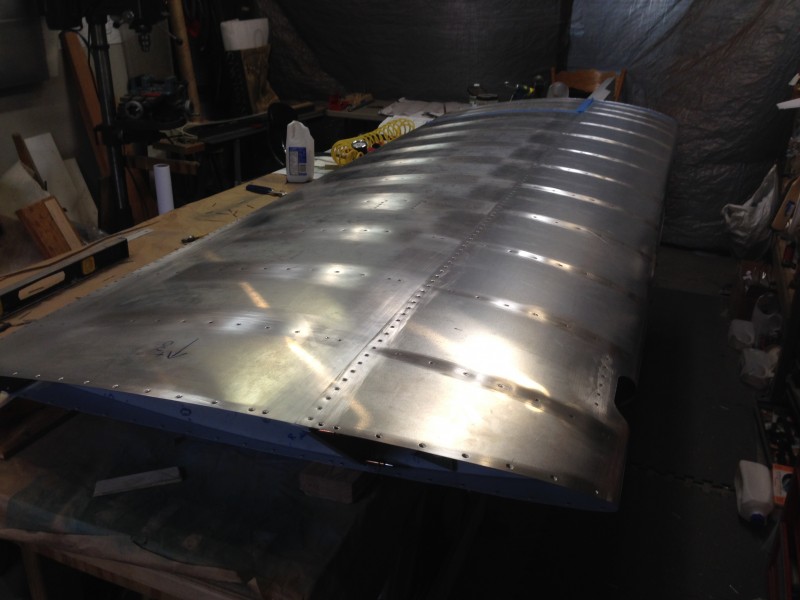
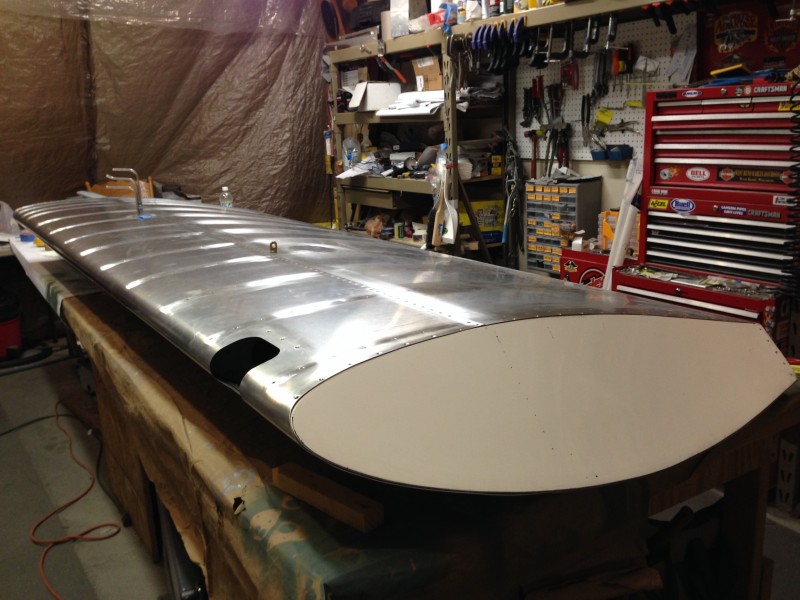
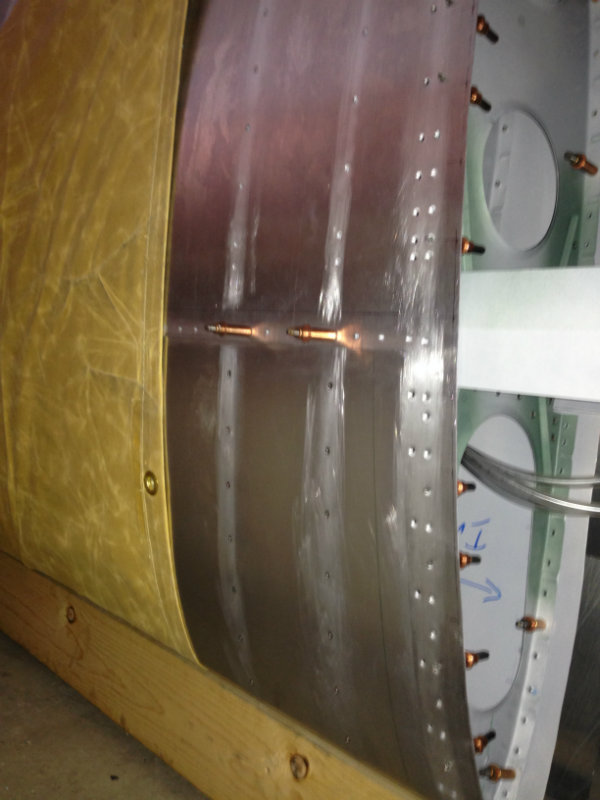
A few small things did get done during the week.  I cleaned out the lower section of my work bench (all 12 feet of it) and moved the aluminum angles off the 12′ rolling material rack. This left room on the rack to hang the complete right wing.  I struggled for a few days after the wing was completed trying to come up with an elegant method to store the wing.  I wanted it secure and safe but still be relatively easy to get at for reference while completing the left wing.  I came up with using a canvas tarp and with a few simple ropes making a sling that I could either hang on the wall or as I alluded to above, hang on the back of my material cart.

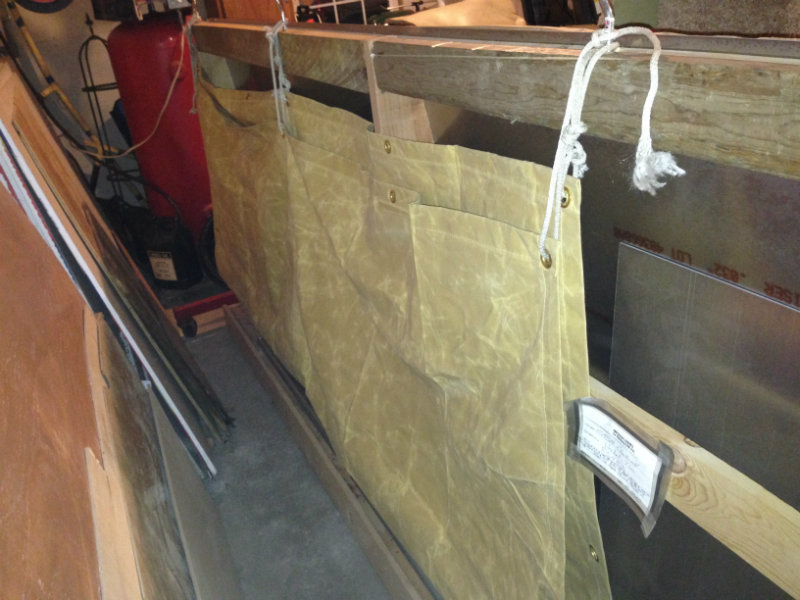
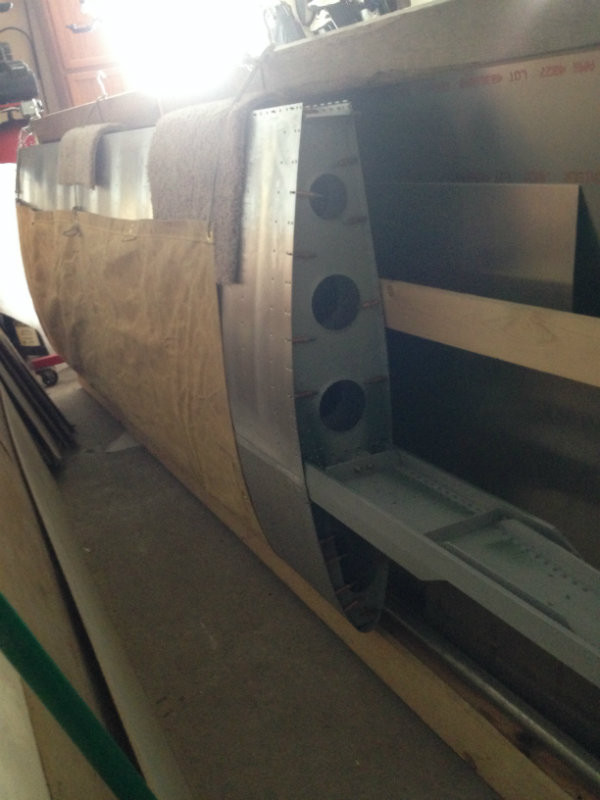
Slipping the wing into the sling was a two man job and Tim was able to stop over Wednesday night after work to lend a hand.  I have a few shots of the tarp with and without the wing on and I think it worked out pretty  well.  I have a better idea for the next wing, which is to buy another tarp and secure the tarp around the wing while the wing is on the bench and provide a rope handle to simple pick up the wing near the center of gravity.  I could then just carry it over to where I want to  hang it and hook the handle on whatever I have decided will work best (a set of hooks on the wall or off the material rack).

So, my goal for the next two weeks is to see if I can assemble the left wing and get it hanging on the wall before I have to return to work.  Tim had a couple days off last week where I was stuck finishing things up for the year end and i know he was dying to come over (while his kids were still in school and he had time off).  Hopefully this coming week will work out better and we can make some real progress with two of us in the shop.

Left Leading Edge
Left Wing Walk

We might add a wing walk to both sides if we modify how the canopy opens.

Return To Right Wing Assembly

Right Wing Finish

Dan
Dec. 8, 2013    Last day for major work on right wing
There were plenty of interruptions yesterday and today but the right wing is finally closed in and riveted with not much but a few small items to do before wing installation on the fuselage.

Right Wing – Tip Side
Tie Down Ring & Inspection Plate
Right Wing Tip Installed (Wing Upside down)
Right Wing Tip Installed (Wing Upside down, Note Landing Light Pocket)
Right Wing – Note Pitot, Static, & AOA tubes
Right Wing – Inside view of wing tip through the landing light cut out (wing is upside down)

Left To Do:
Paint control rods
Add nut plates for surface screws on wing tip
Trim pitot, static and AOA tubes and connect to lines.
Attach and trim wing doubler skin after wing is fitted to fuselage

A few things to note.

The rivets in the bags need to be watched carefully because they are not perfectly sorted. Either we inadvertently dropped a few CCP rivets in the CCC bag or they came that way. in either case, I caught them before pulling the rivets but it is a lesson to not be too casual or in too much of a hurry when putting in large numbers of rivets like those in the wing assembly.

Using the flat piece of 3/16″ aluminum between the rivet gun and the rivets was a big improvement over just using the rivet gun tip. This was particularly true when riveting the leading edge skin to push with heavy and even pressure to keep the skin tight to the ribs. It probably helped a lot to have the skin well formed with the vacuum method but even so, I think it helps to be able to press hard on when riveting the leading edge.

I was planning on hanging the wings up on the wall in the garage but I think I can rearrange the material in the rolling rack and put the wings on the rack.

Modifying the rack with have to be the next thing to do so I can clear off the bench to assemble the left wing.

Return To Right Wing Assembly

Right Wing Assembly Internal 1

Dan Dec. 6, 2013   –   Right wing internal checks before final rivet closure.

So last night I expected tonight would be a lost night due to other commitments. As it turns out, everything opened up and my evening was open. Being below zero F there are few that want to go out so I turned on the heat in my garage and went to work. During the day Tim and I had talked over the alternatives. Rivet the skins as they are without opening it up to tighten down the tie down eye bolt (I had neglected to do this before closing it all up but it was possible to get at it from the inspection hole. On my way home I decided to try and get to the tie down bolt through the access hole by hanging the wing over the edge of the bench. I figured that if it seemed reasonable to torque the bolt down from there I would just either torque it then and there of else if it appeared too awkward I would pull the clecos off the top aft skin and torque the bolt. I messed with the bolt for about a half hour and thought I would try to tighten it from the inspection cover but while I think it was possible, I though it would be much easier (and in the end faster) to pull the top aft skin off. It only took a few minutes to do and once I was ready to begin torquing the nut, I realized that while I had 3 torque wrenches in my shop, only one was well suited for the 200 or so inch lbs for the 3/8 x 24 bolt. Problem was that the 9/16 hex socket required a 3/8″ drive. The only torque wrench I had that would work with any reliability at this setting was (Tim’s) 1/4″ drive torque wrench. I have no 1/4″ drive sockets that go above 1/2″. So, off to the store (Fleet Farm) I went to either get a socket at 9/16″ with 1/4″ drive, an adapter for a 1/4″ socket drive to a 3/8″ ratchet or a new torque wrench. I was not in the mood to go running around town at 8:30 on a cold as heck Friday night looking for wrenches and when the only option available at Fleet Farm was a new torque wrench, I bought it. Back at home it took little time to torque the nut on the eye bolt.

After the bolt I started looking at the bell crank and the control rods and thought about the rigging for the aileron. It would be possible to do when everything was closed but I could do it much faster with everything open as it was. So, I set up the bell crank by adjusting the short control rod to the aileron length as shown in the drawings at 25 degrees with the aileron at a neutral position.

Setting Aileron Bell Crank

With this done I decided to connect the long control rod and make sure there were no surprises with interference over the expected motion of the aileron.

Aileron Control Rods

As far as I could tell, this all looked good and the pictures show the aileron at full deflection points,

either when the bell crank is at its end of travel of the aileron counter weight stops the aileron from further deflection.

Once again, I ready for final assembly of the wing and this time I think its real. Tomorrow i will close the wing up and then will have to deal with where will put the wing. I am thinking of building a rack on one of the few remaining open walls. We will see how it goes.

Return To Right Wing Assembly