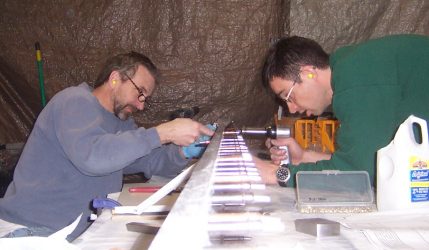
Since we finished “Big Bend” (the David Clay bending brake design) we were eager to try out the beast. This is the method we have developed for accurate bends.
Here is the rear spar cut to shape and edges deburred and smooth. One can calculate the width from the standard bending formula tables. We mark the centerline of the spar blank
We clamp the flange side in the bending brake so we can push up against the larger center portion. From the bend formulas you can calculate the tangent points of the bend. Since the part will be formed around the radiused nose of the brake, we need to locate the part’s tangent line right on the tangent line of the nose of the brake. How can you do this if the part’s tangent line is covered up? What we need is called the “Sight Line”. Looking straight down on the un-bent part this theoritical line should be located right at the nose of the profiled brake angle. It happens to be the radius of the bend from the tangent line. I will post a summary of this with lots of pictures. It is tricky to get this line in the right position visually, so we use a caliper and measure from the center line out to the nose of the brake. (In the picture below we are using the top fingers of the caliper. The paint on brake nose was sanded off so it is a bit shiny.)
Tighten up the clamp bolts on the brake
** Important ** When we clamp on the narrow flange section we have less than .5″ of the sheetmetal clamped so the top angle will tilt back since it is 3″ long. This reduces the clamping force and the little flange can slip during the bend. We insert shims of the same thickness of the bend piece in the backside of the clamp to keep it level.
Here is the first bend, we can only get about a 90 degrees (with the spring back) since we can only rotate the brake up a little more than 90 degrees.
We put in a piece of wood to continue the bend.


