(Been a while since I have updated the website)
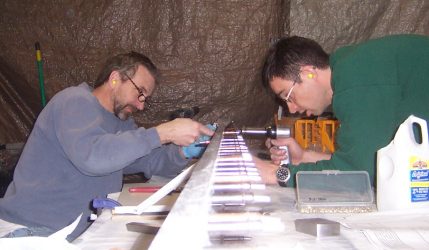
Dan cut out the top and bottom skins. Now it was time for the dreaded forward skin with the leading edge bend. The factory suggested a U shaped wooden channel and a guillitine type press that pivots on one end. Think of a paper cutter at the office. This seems kinda drastic but it must work. We had looked on the internet about the different ways people do this. Some have used the same wodden U channel but the center piece is actuated down level by two threaded rod jack screws. Finally there is the vacuum method that uses a pipe at the inside of the leading edge and you wrap the sink in some polymer sheeting and suck the air out with a shop vac. The pressure drop on the large sides of the skin pulls the metal in. There are several YouTube videos on this and we liked the result. So we tried it. The following pictures on the second side. We already had the experience of the first.
First we need to mark the sheet. Sonex provides a set of X-Y points for both ends since these are interesting curves as they wrap around the leadign edge. I used CAD to make a spline fo the curves and plotted it out. We aligned the plot with the bearest row of rib rivets and traced the line. We movd the plot over so we have an offset to cut on. We can file down to the line later.

Now marking and double checking the center line of the skin
Cutting out the skin with the electric shears (they are great)
There is some technique to the electric shearsyou have to tilt is at the right angle and feed at the right rate, Dan has the golden touch (I think he pratices every morning before breakfast):
Now we lay the skin on top of the poly sheeting:
Since the pipe will lay directly on the centerline we made a mark on either side of the center line of radius of the pipe. We used 1.5 inch diameter black (gas) pipe schedule (? thick). We double checked these marks and used a square on the edge of the pipe to line up with the mark:
Dan had tried pipe flange clamp but didn’t like the results so we used muffler clamps. They seemed really stiff.
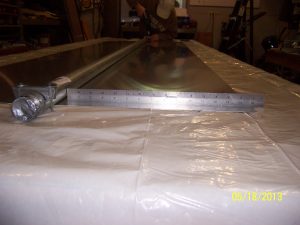
Double checking the pipe location by a measurement from the pipe to the outer edge:
Next step is to bring the two long edges together. This is accomplish slowly using tape by working your way down one side and back again, down and back… Takes a while but you need to be gentle so the skin doesn’t bend. Two people makes it go quicker.
Got the top edges touching:
 As you do this you are moving from tape piece to piece. With hindsight you really want to make sure the two sides are lined up precisely at the top. Now we folded the poly over and tucked it under, folded the other side over, twisted the ends and tied with wire:
 We put the shop vac hose in one end:

 We used a smaller shop vac but it worked just fine. (I wanted to borrow a 3/4 hp industrial blower from work but Dan veto-ed that.)
 After taking a deep breath we pulsed the shop vac on and sure enough the poly collapsed and made a beautiful teardrop shape of the skin. We let the vac run for a little but all the bending was done. All that prep work for 26 seconds of vacuum forming, (I have a movie of it but need to upgrade this blog to show it). Here is our unwrapped result (still taped at the top)
 Now you have to un-tape it slowly maybe .5 inch a time at each tape strip and work back and forth:
 Finally you have a leading edge skin, we are really happy with the process, the relaxed bend is close to the assembled leading edge Dan made in the Sonex workshop. We didn’t get any wrinkles or kinks which was a huge relief.

 Thanks to those that pioneered this method.


